
Hoop sizes explained
What fits in each hoop, where the numbers come from, and how to choose the smallest field your design will sit in.
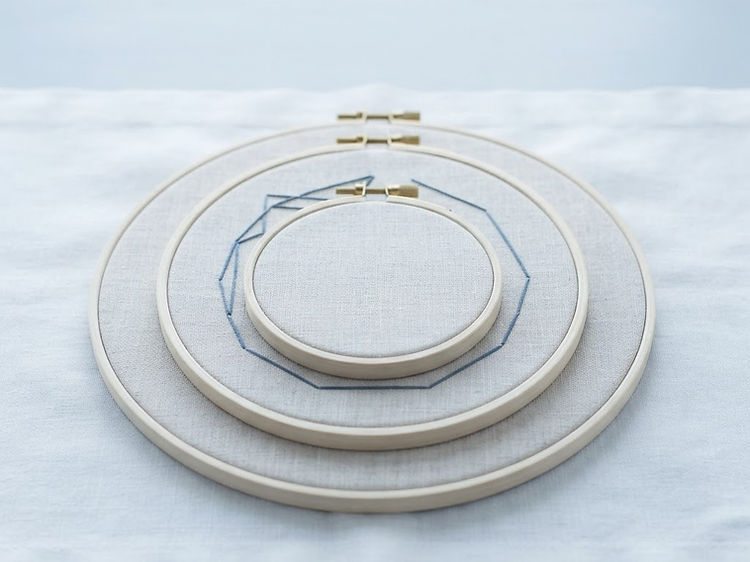
The short answer
A hoop is named by the largest rectangle the needle can reach inside it, measured in millimeters — a 4 × 4 in hoop is a 100 × 100 mm stitch field, not a 100 mm frame.
The frame itself is larger, and the clamps cover part of the fabric, so a design is always a little smaller than the number on the box. That is why the studio asks for the hoop and the finished width separately.
- Hoops in the studio
- 5 fields
- Smallest field
- 100 × 100 mm
- Largest field
- 200 × 300 mm
- Edge clearance
- 6–8 mm
The sizes
The fields you will see quoted, and what each one is for.
The studio offers exactly these five, so a design is never written for a hoop you cannot buy.
| Hoop | Stitch field | Usually for |
|---|---|---|
| 4 × 4 in | 100 × 100 mm | Pocket, cap front, small logo, single monogram |
| 5 × 7 in | 130 × 180 mm | Left chest, sleeve, child’s shirt |
| 6 × 10 in | 160 × 260 mm | Tote bag, tea towel, wide sleeve |
| 8 × 8 in | 200 × 200 mm | Quilt block, large square panel |
| 8 × 12 in | 200 × 300 mm | Jacket back, big tote, banner panel |
Each size is quoted in millimeters first, because that is what the file records: 100 × 100 mm is the 4 × 4 in hoop, 130 × 180 mm is the 5 × 7 in hoop. Leave roughly 6–8 mm inside the edge free, because the hoop clamps over the fabric there.
Choosing
Pick the field from the placement, not from the machine.
Three questions in this order, and the hoop picks itself.
Measure the placement first
A left chest sits 75–90 mm wide, a cap front 50–55 mm, a jacket back 200–250 mm. Decide that number before you look at hoops.
Then find the smallest field that holds it
A 90 mm wide logo fits the 4 × 4 hoop; a 150 mm tote design needs the 6 × 10 in field; a jacket back needs 8 × 12 in.
Mind the shape, not just the size
A wide, short design will not fit a tall hoop even when the numbers look bigger. That is what the rotate option is for.
The hoop can be turned a quarter turn, which swaps its axes: a 130 × 180 mm field becomes 180 × 130 mm. The studio has the same switch, so a wide, short design still fits a tall hoop — and the file is written at the size the machine will actually sew.
Mistakes
Four ways a design that fits still sews badly.
All four are decided before the file is downloaded, not at the machine.
Stitching into the clamp
A design that fills the field corner to corner leaves nothing for the hoop to grip and nothing for the machine to move. Stay 6–8 mm inside the edge.
Scaling on the machine
Resizing a design on the machine stretches the stitches, so a 0.4 mm spacing becomes 0.55 mm and the fill goes thin. Set the width in the studio, then leave it alone.
Hopping up a size for no reason
A bigger hoop is harder to hoop tightly, and loose fabric ruins a small design. Use the smallest field the design fits in.
Forgetting the outline
A satin border or a running outline sits outside the fill, so the design is wider than the shape you measured. Size the whole thing, not the middle.