
Free sample design
A small two-color sprig to stitch first, with the exact settings to use. Free with a free account — no card, nothing to cancel.
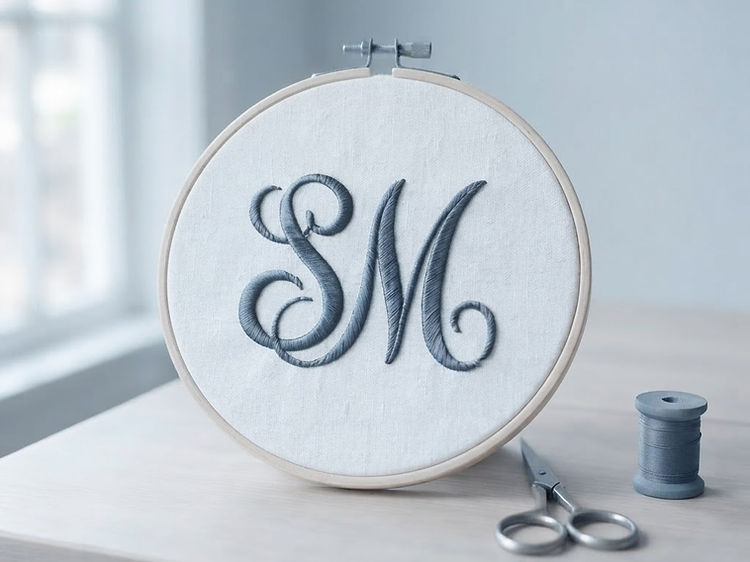

The design
A two-color sprig, sized for a 4 × 4 hoop.
Three thread colors, one hoop, about twelve minutes of sewing. The finished width is set to 70 mm so it fits a cap or a pocket with room around the edge.
The design and the walkthrough below are open to read. Opening the design in the studio or downloading the artwork needs a free account — no card, and nothing is charged.
The settings
Sew it exactly like this the first time.
Once it comes out clean, change one thing at a time and you will learn what each setting does.
- Hoop
- 4 × 4 in (100 × 100 mm)
- Finished width
- 70 mm
- Fabric
- Cotton, with tear-away backing
- Stitch spacing
- 0.4 mm
- Colours
- Sage, terracotta, gold
- File to export
- DST, PES, PEC, JEF, EXP, VP3 or XXX
Thread in a mid-weight cotton or polyester. The colors in the file are a starting point — substitute the ones you already own.
Walkthrough
From the download to a finished patch.
Five steps, about fifteen minutes at the machine.
Open the design in the studio
Sign in, then press Open it in the embroidery studio. The artwork is read in your browser and never uploaded.
Set the hoop and the width
Choose the 4 × 4 hoop and a finished width of 70 mm, then pick cotton as the fabric so the spacing starts in the right place.
Set a stitch per color
Satin for the petals, a tatami fill for the gold center, and a running stitch for the stem and leaves so they stay light.
Look at the preview, then export
The preview shows the stitch direction and the run time. Export any of the seven stitch formats — DST keeps no colors, so note the order to follow at the machine, or download the thread list beside it.
Hoop, stitch, trim
Hoop the cotton with tear-away backing, sew the design, then tear the backing away and press the finished piece face down on a towel.
Then what
Bring your own artwork next.
The same studio, the same settings, your image.
A logo on a shirt
Upload the logo, set a left chest width of 80 mm, and follow the logo walkthrough for the stitch choices.
Lettering
Use the hoop text studio when the design is words rather than a picture — fonts stay crisp at small sizes.
A photo
Photographs need cleanup first: simplify the colors in the image editor before the studio fills them.
Your own saved work
Every design you save comes back from the gallery with its hoop, colors and stitch types intact.